The first "skin" is off.
First look.
Well packed. Not a sign of transport damage.
This must be the hub.
And it is. The first clamp assembled as a guide.
The three packs of spreaders.
Bits removed from the packet.
Centre post still it its bubble wrap.
Ready to put the rest of the clamps on.
Task one is complete. All the clamps and the protective aluminium tubes in and tight.
Now the center post turn to be added to the hub..
This time the job of fastening the lugs to the rods. Each rod has one clamp attached as a guide. All I had to follow the measurements for the other spreaders.
The clamp attached to the spreader rod. Note the black electrician tape protecting the rod. Also prevents slipping. Smart move Waldi.
All done now, so lets put it all together.
Still flat.
Self amalgamating tape applied to the top.
The rods are supplied with the ropes attached and coiled. It is easy then to bend the rods and hook the ends of the strings to the top ring.
Here it is - full shape without the wires.
The wires for all bands are threaded through and secured.
All done.
The frequencies all checked nicely.
Tomorrow or next day I'll lower the mast, remove the old hex and install the new toy.
Today (Friday) is the next day:
I've lowered the mast.
and removed the old hex
There it is
Have to disassemble and put it away first because there is no space for two on the back.
It served pretty well considering that it was "put together" out of bits and pieces from at least two hex wrecks.
Here is the new toy begging me to hurry up and put it on the top of the mast to get the view.
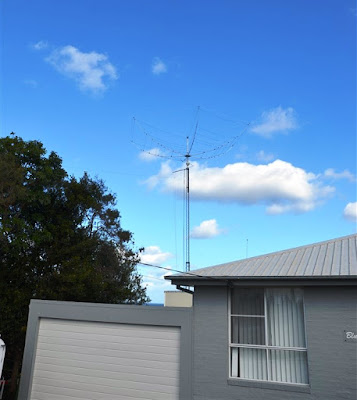
After two hours of big battle and couple of branches of nearby trees removed to find the space to "swing the hex around". It is up. Yeeeehaaaa.
All seems to be fine. The radio is "happy". Had to change the tuning very slightly. So I'm ready to chase DX (or contest) again.
73
p


Are there instructions for assembly or did you just wing it ?
ReplyDeleteWinged it. It is "kinda" obvious. You've seen one - seen them all.
ReplyDelete73